Products are supplied unpainted, usually in white plastic. Before painting there are some recommended steps. This page and our printable painting & prepping guide give basic instructions. For more inspiration and customer hints and tips, have a look at the albums of our products painted (linked at the top of each range page), or see over 50 reviews. There is also a great customer video review showing prep and finished products.
1. Wash
Important: before paint is applied, the whole moulding should be washed in warm water with a small amount of washing-up liquid, then dried. This will remove any traces of grease and make the paint adhesion that much easier.
2. Trim and glue
The mouldings are produced with an edge, which you may wish to hold during painting, or remove before starting. Either way, a sharp craft knife is required to remove the lip.
Key any edges to be glued with fine sand paper. For kits needing to be glued we recommend polystyrene cement, which is widely available, similar to the 2 types we sell in our Finishing Accessories range, plastic weld or superglue.
3. Undercoat
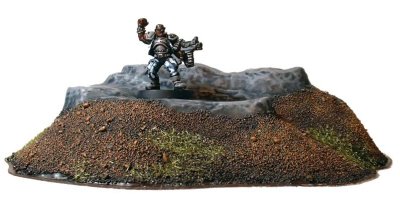
Next, it is recommended that the entire surface is coated with undercoat. Acrylic car primer sprays are ideal for this task; some car spray paints are dedicated to plastic, are labelled as such and are the best to use. Some modellers like to add effects, such as sand for texture, using watered down PVA glue before paint is applied.
4. Paint
Finally, acrylic or enamel paints can be used to colour the item. You should be able to find acrylics in most model shops or art supply retailers.
5. Finish
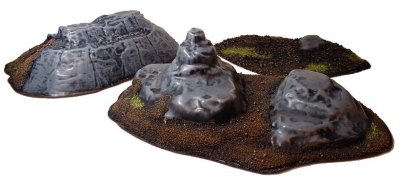
For extra effect, you might like to add “grass” material and foliage, available from your local model shop. Adhere using good quality PVA or wood glue.
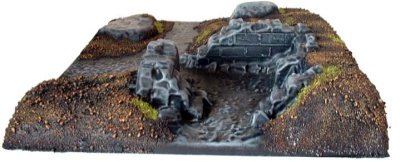
This page features some images painted by Ian Haynes, included here with his kind permission.